
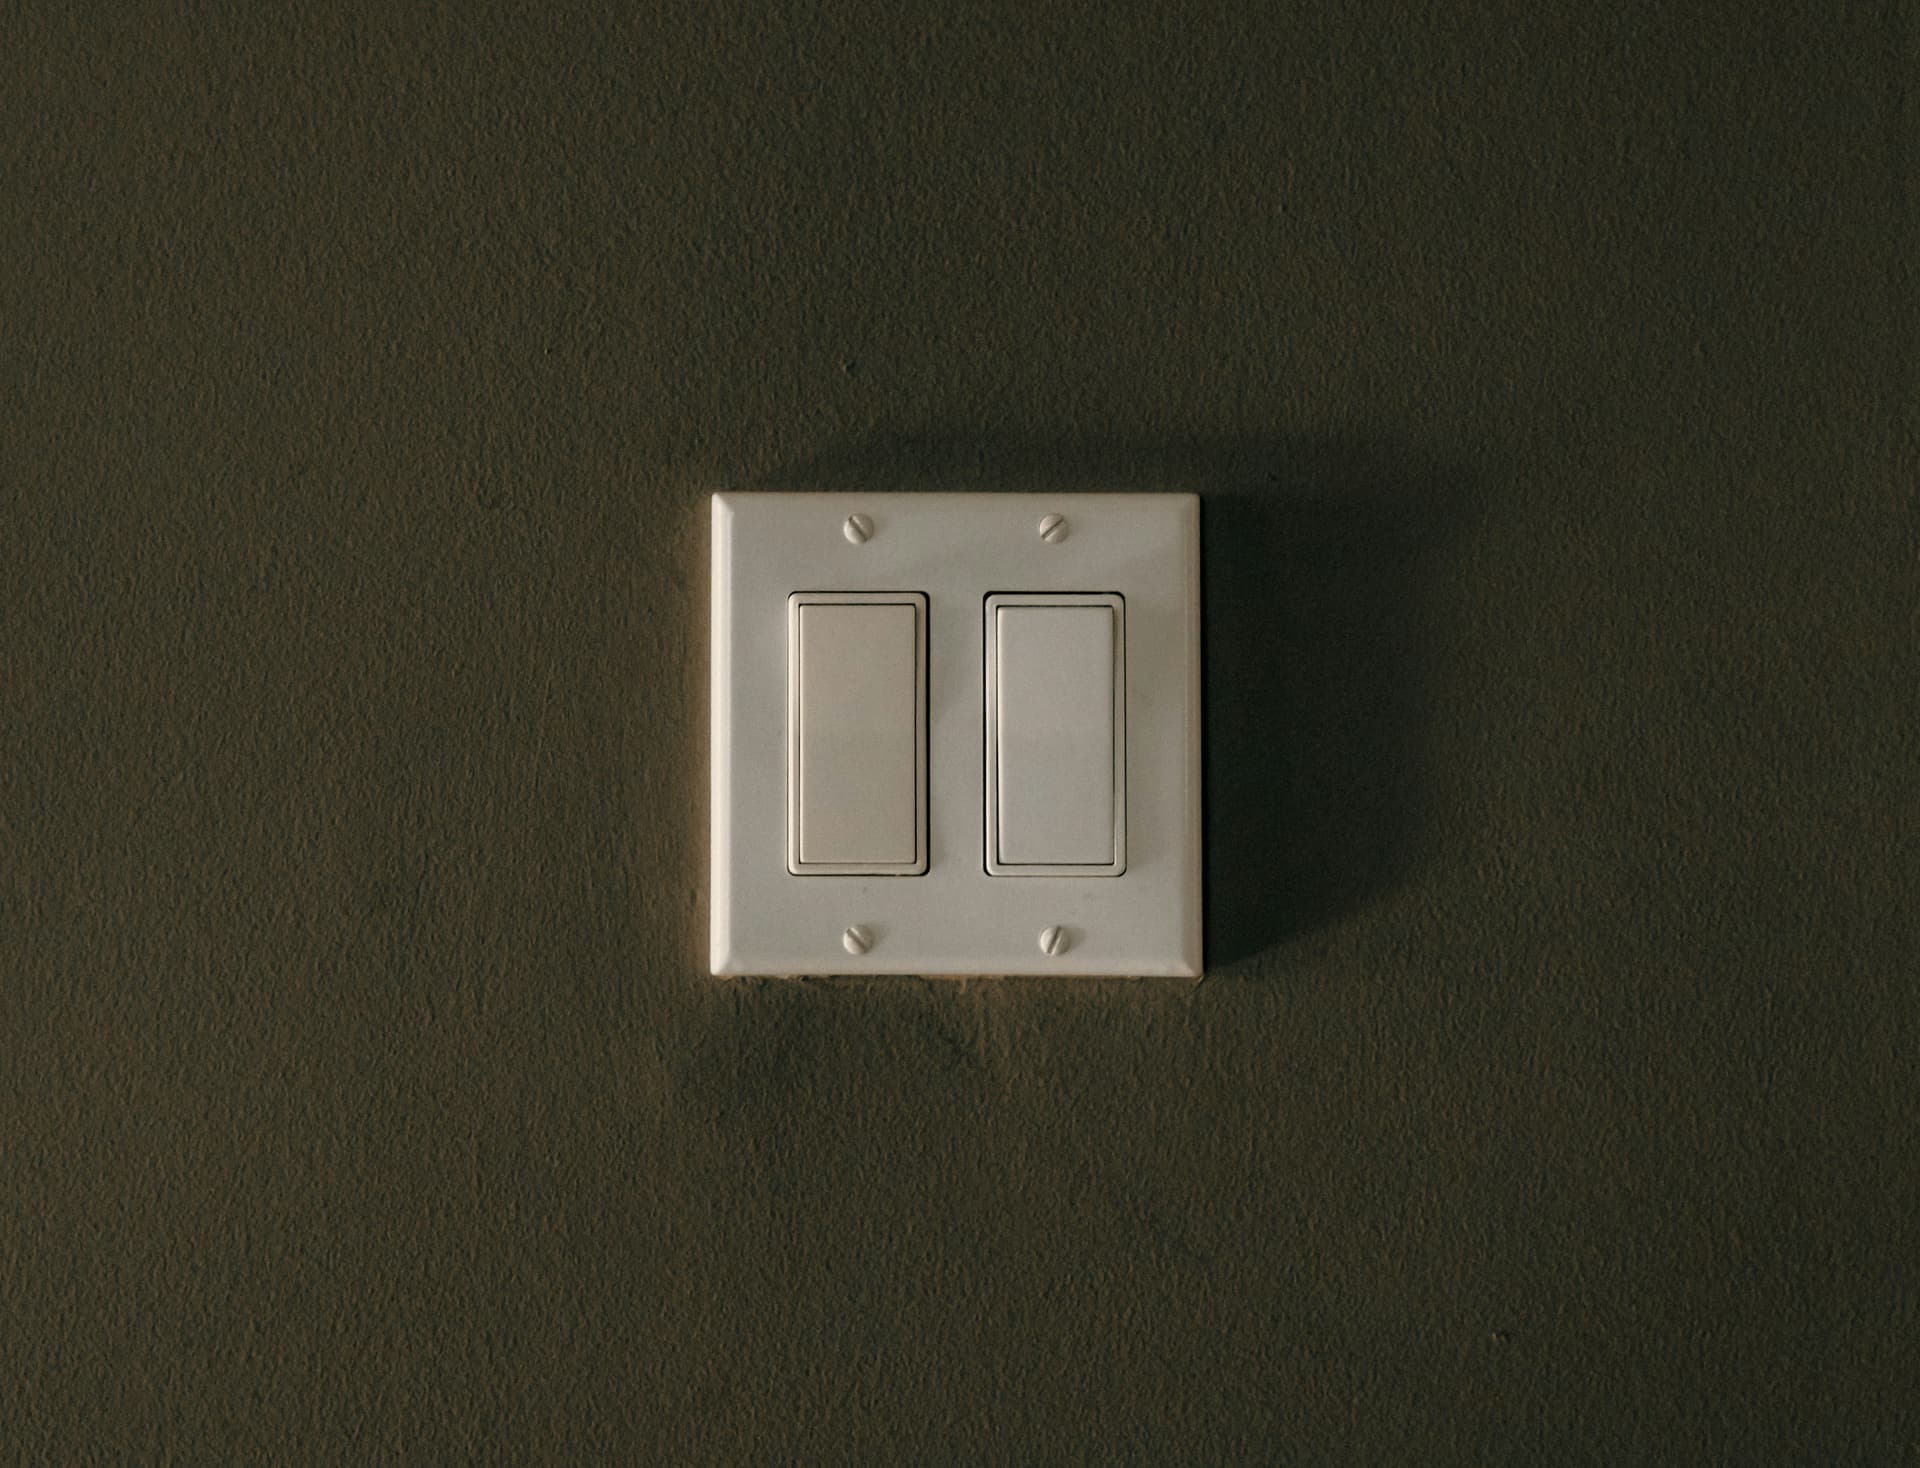
Beginner's Guide to Replacing a Single-Pole Light Switch
Quick Answer
Replace a single-pole light switch by turning off power, removing the old switch, connecting wires to the new switch, and securing it in place.
The Problem
A single-pole light switch is a straightforward device that controls a light fixture from one location. Over time, these switches can wear out or become faulty, causing flickering or non-operational lights.
As an Amazon Associate, I earn from qualifying purchases.
When replacing a single-pole switch, safety is paramount. Use a voltage tester to ensure no power is running through the switch because accidental contact with live wires can lead to electric shock.
It's important to understand the difference between single-pole and three-way switches before starting your project. For more complex electrical tasks, consider checking out our article on the essential tools every homeowner should have in their toolkit. For a comprehensive list of these tools, visit our Deep Dive into the No-Nonsense Homeowner Toolkit.
Step-by-Step Guide
Turn off power at the circuit breaker.
Remove the switch cover plate using a screwdriver.
Check for live wires with a voltage tester.
Unscrew the old switch from the electrical box.
Disconnect the wires from the old switch.
Connect the wires to the new switch in the same configuration.
Secure the new switch to the electrical box with screws.
Replace the switch cover plate.
Turn the power back on and test the new switch.
🛠️ Tools Needed
- •Klein Tools Voltage Tester
- •Craftsman Screwdriver Set
📦 Recommended Products
- Leviton Decora Rocker Switch ↗
Durable and easy to install, suitable for most single-pole switch replacements.
- Klein Tools Voltage Tester ↗
Required tool: Klein Tools Voltage Tester
- Craftsman Screwdriver Set ↗
Required tool: Craftsman Screwdriver Set
Frequently Asked Questions
What if the switch still doesn't work after replacement?
Ensure all wires are properly connected and the circuit breaker is on.
Can I use a dimmer switch instead?
Yes, if compatible with your lighting and wiring setup.